Details are important. In the same way that a great filmmaker will give you shots of important objects or items significant to the plot, a great photographer will give you close ups of the smaller parts of the day that create the entire narrative.
In my work, details take a back seat in favour of photographing people. I think they help bind the story, but they’re not key plot developers. Like the binding of a book. It holds it together, and completes the package, but the story still exists in its entirety without it. Here’s another tip: don’t get hung up on your gear.
In any good narrative, the same rules apply. Like the old adage goes, “if you show a close up of a gun in act 1, it must go off in act 2”. There’s no point in photographing details if they have no real relevance to the plot development. Poorly placed close up shots in a narrative can be a distraction, rather than an aid.
But! As I mention, they have their place. An even bigger but, I don’t own a macro lens. I don’t take enough close ups to warrant the expense. Instead, I employ the following camera hacks to get the results I want, using the gear I already have.
The reverse lens macro camera hack


Very simple on paper, but can be difficult to master.
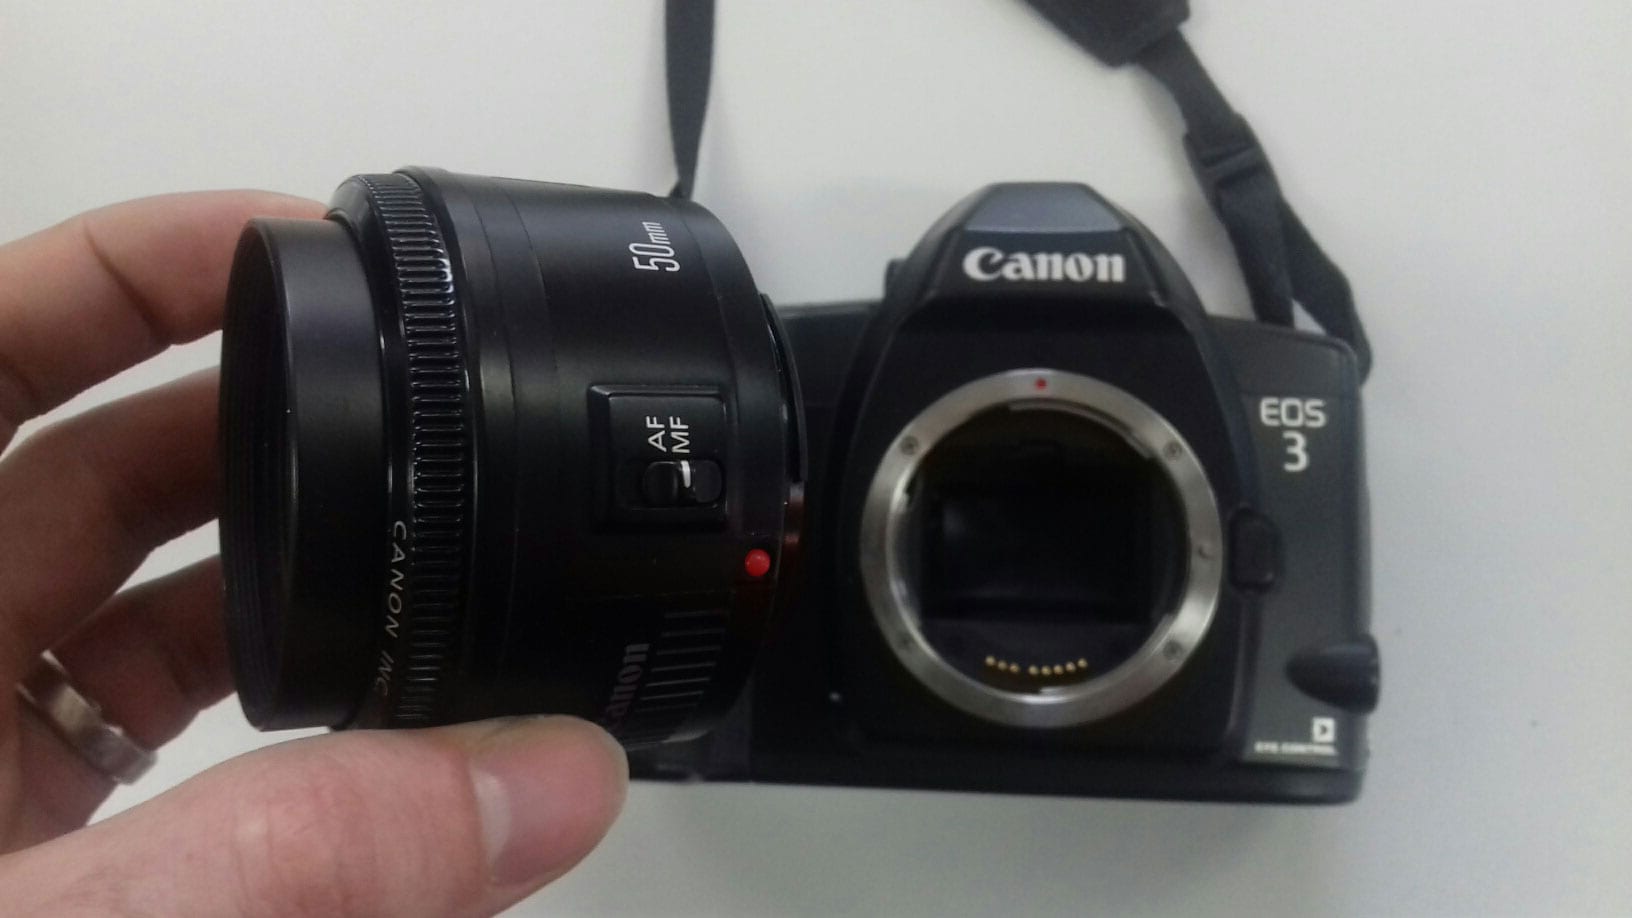
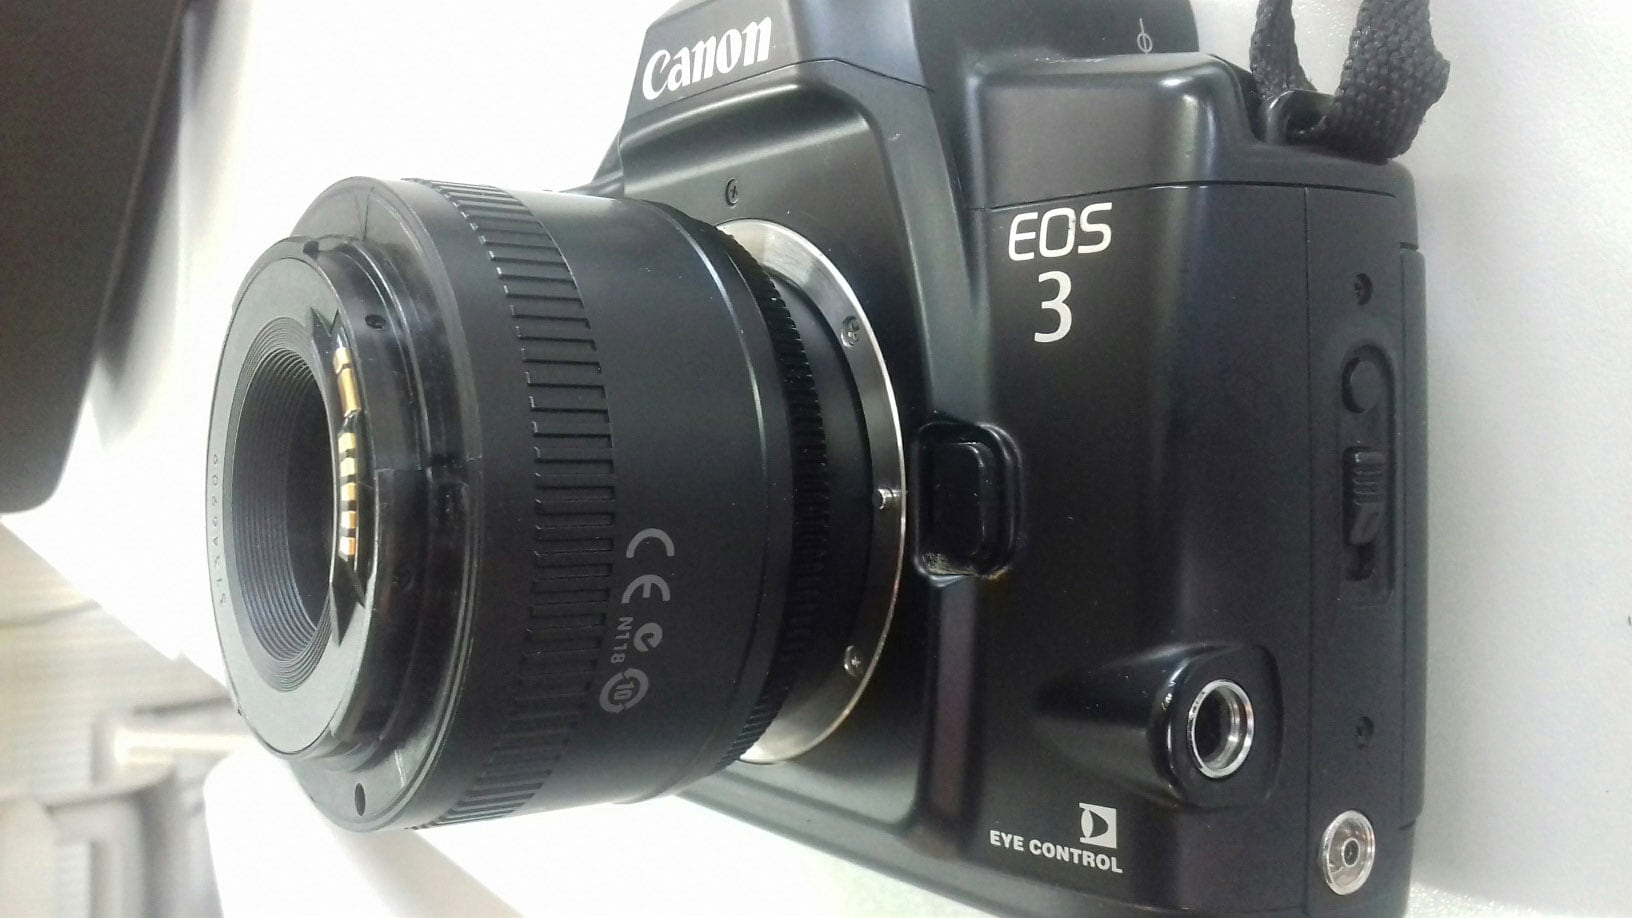
Take the lens off, turn it around as if you were going to put it on the body the wrong way around. Hold it up against the body annnnd…macro lens.
This is best executed with a camera that has live view, most do, but I grew up in an era where this wasn’t a thing, so mentioning it is out of habit as much as anything.
Remember, you can’t control your aperture anymore.
Canon users – the lens usually defaults to its max aperture, so expect a very shallow depth of field
Nikon users – the lens usually defaults to its minimum aperture, so expect a very deep depth of field
Canon users – because the lens defaults to its widest aperture, expect to use a fast shutter speed in order to achieve correct exposure. Because the lens is no longer talking to the camera, the live preview isn’t going to be accurate, so take the picture, look at the screen and adjust accordingly.
Nikon users – because the lens defaults to its smallest aperture, expect to use a slower shutter speed and high ISO in order to achieve correct exposure. Because the lens is no longer talking to the camera, the live preview isn’t going to be accurate, so take the picture, look at the screen and adjust accordingly.
Close up filters
On balance, the simplest solution out of the three, but its second in this list because you will have to pay for them. The beauty in the first method is that you can use any lens that you already own.
Close up filters come in different varieties and will have +3, +5 etc. written on the them. The bigger the number, the more magnification. Simple, cheap, effective.
Extension tubes
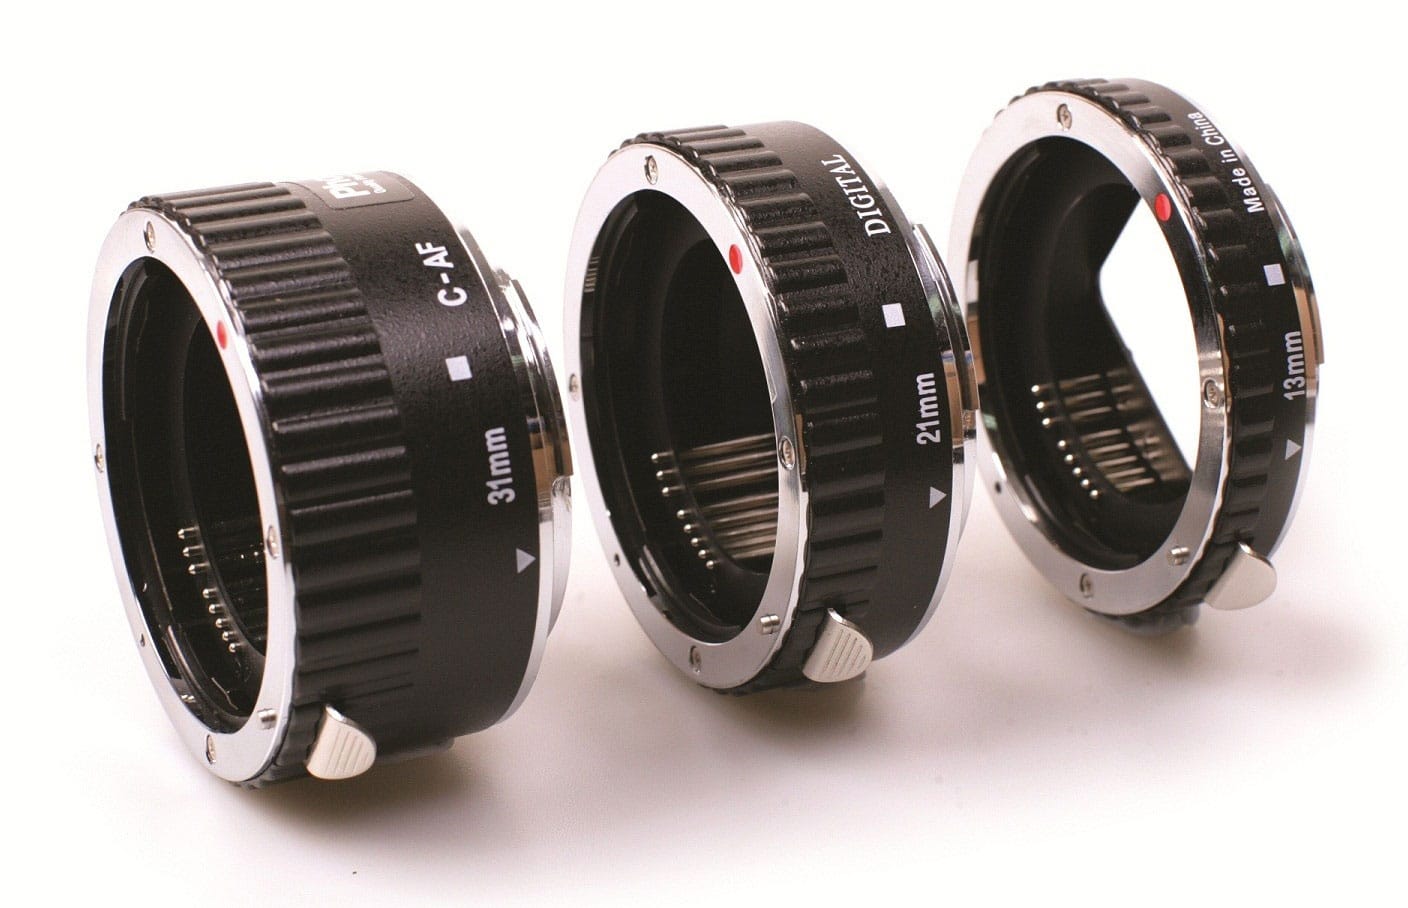
Essentially bits of plastic lens mount that make your lens longer. They increase the distance between the glass at the rear of the lens and the camera sensor, and in turn allows you to focus much, MUCH closer…sometimes too close if you use the whole stack.

Pick them up for cheap on Amazon.
Take your lens off, mount these on the body, then mount your lens on the extension tubes. Easy peasy. Make sure it clicks into place, no accidental broken lenses please. Voila! Instant epic macro.
Oswaldo technique
I have absolutely no idea what this is, so I made up a name that amused me.

What to do?
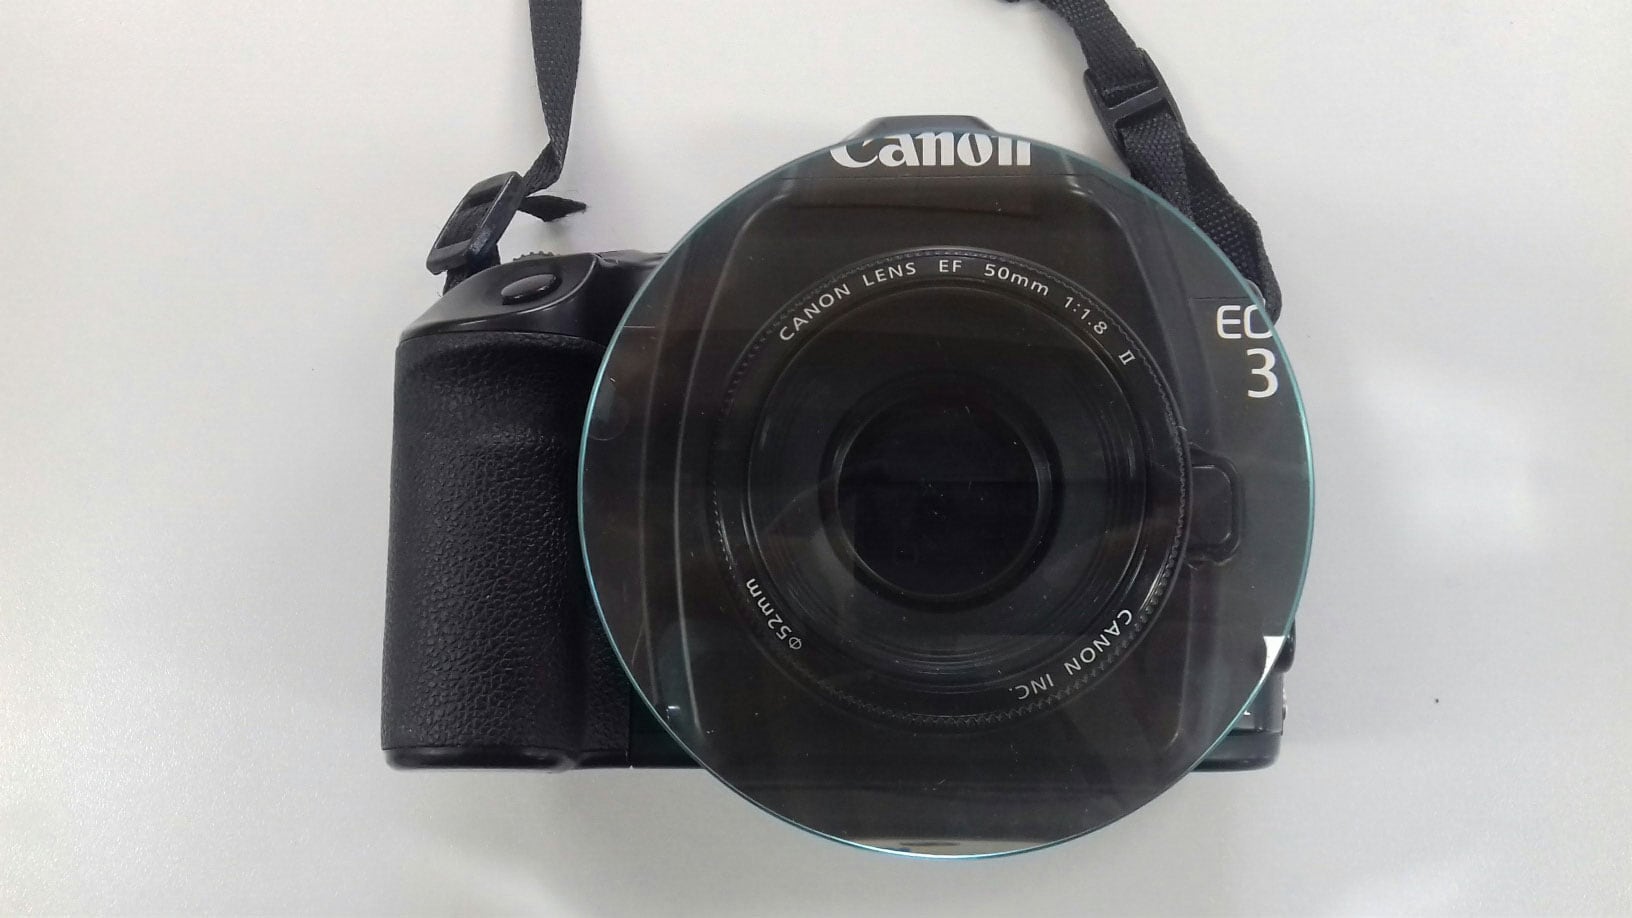
You will need a large optical glass element. I have one of these in my bag because I use it for ‘lens chimping’ – the technique where you deliberately blow out highlights to create lens flare.
With this same piece of glass, if you hold it in front of the lens, it become a magnifying glass. Bosh!
There we have it. Four techniques to achieve close up photography without having to shell out for a dedicated macro lens.
One technique costs nothing, big win, but sometimes clumsy. Increased chance of smashing a lens.
Extension tubes and close up filters are my favourites. Close up filters are cheap, lightweight and take up very little space in your camera bag. Extension tubes optically produce the best results, but are a bit bigger.
Either way, with one of these methods you can create close up shots of wedding details, probably most useful for rings, and save a pretty penny.
