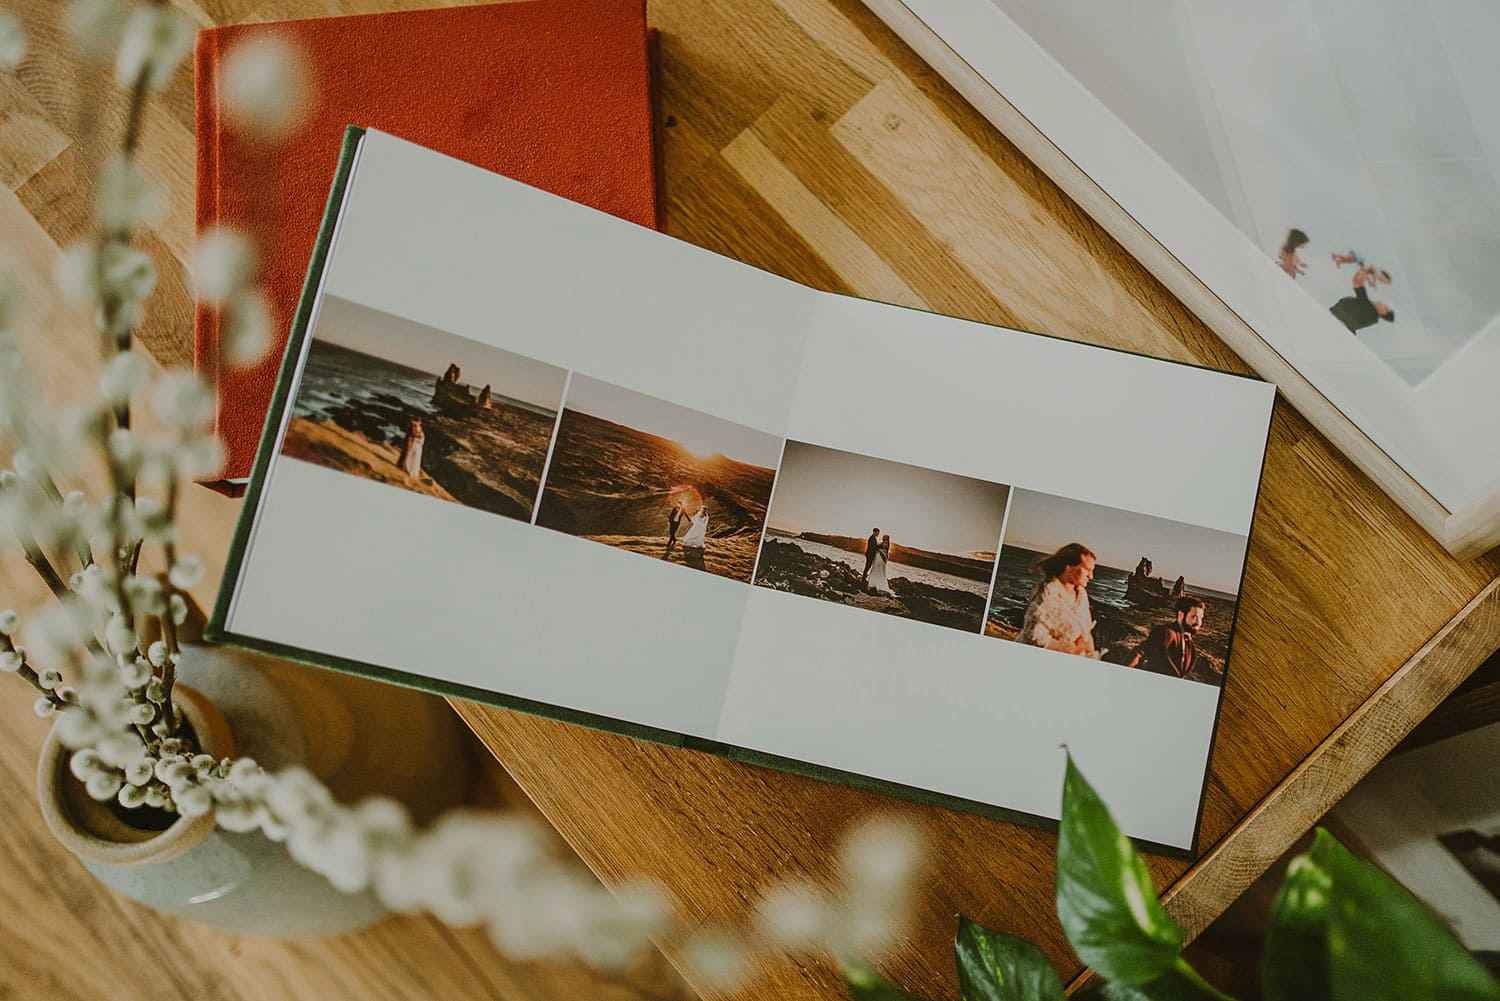
The printed photograph, what a wonderful thing. To hold history in the palm of your hand; it’s special.
I love printed photographs and it always makes me happy when clients choose to order a wedding album. It’s a timeless treasure that encapsulates the story of your day and celebrates your love, connection…and also gives you something to look back on with your kids one day.
No one thinks of their wedding photographs in twenty years time, but as they age they become more valuable.
How To Order A Wedding Album
My aim is to make the process of creating and ordering your wedding album as seamless and enjoyable as possible.
In this article, I’ll guide you through the effortless steps to design and personalise your wedding album, from selecting your photographs and album size to choosing the ideal cover and engraving.
Step 1: Select Your Photos and Album Size
Your options for a main album are 12×12″ and 10×10″, any smaller than this and the value proposition drops considerably, what you may gain from having a cheaper book is lost in terms of value as you can’t fit as many pictures on a page.

Ten inch by ten inch is the most popular, it’s big enough to show off your key images, but small enough that it can fit in a drawer.
40 sides is a good size, but you have the option to increase to up to 100 sides if you’d like.
Pricing
A 40 side 10×10″ book is priced at £380. Each double page spread after that is £9, so £90 for an additional 20 sides.
Select Album Colour
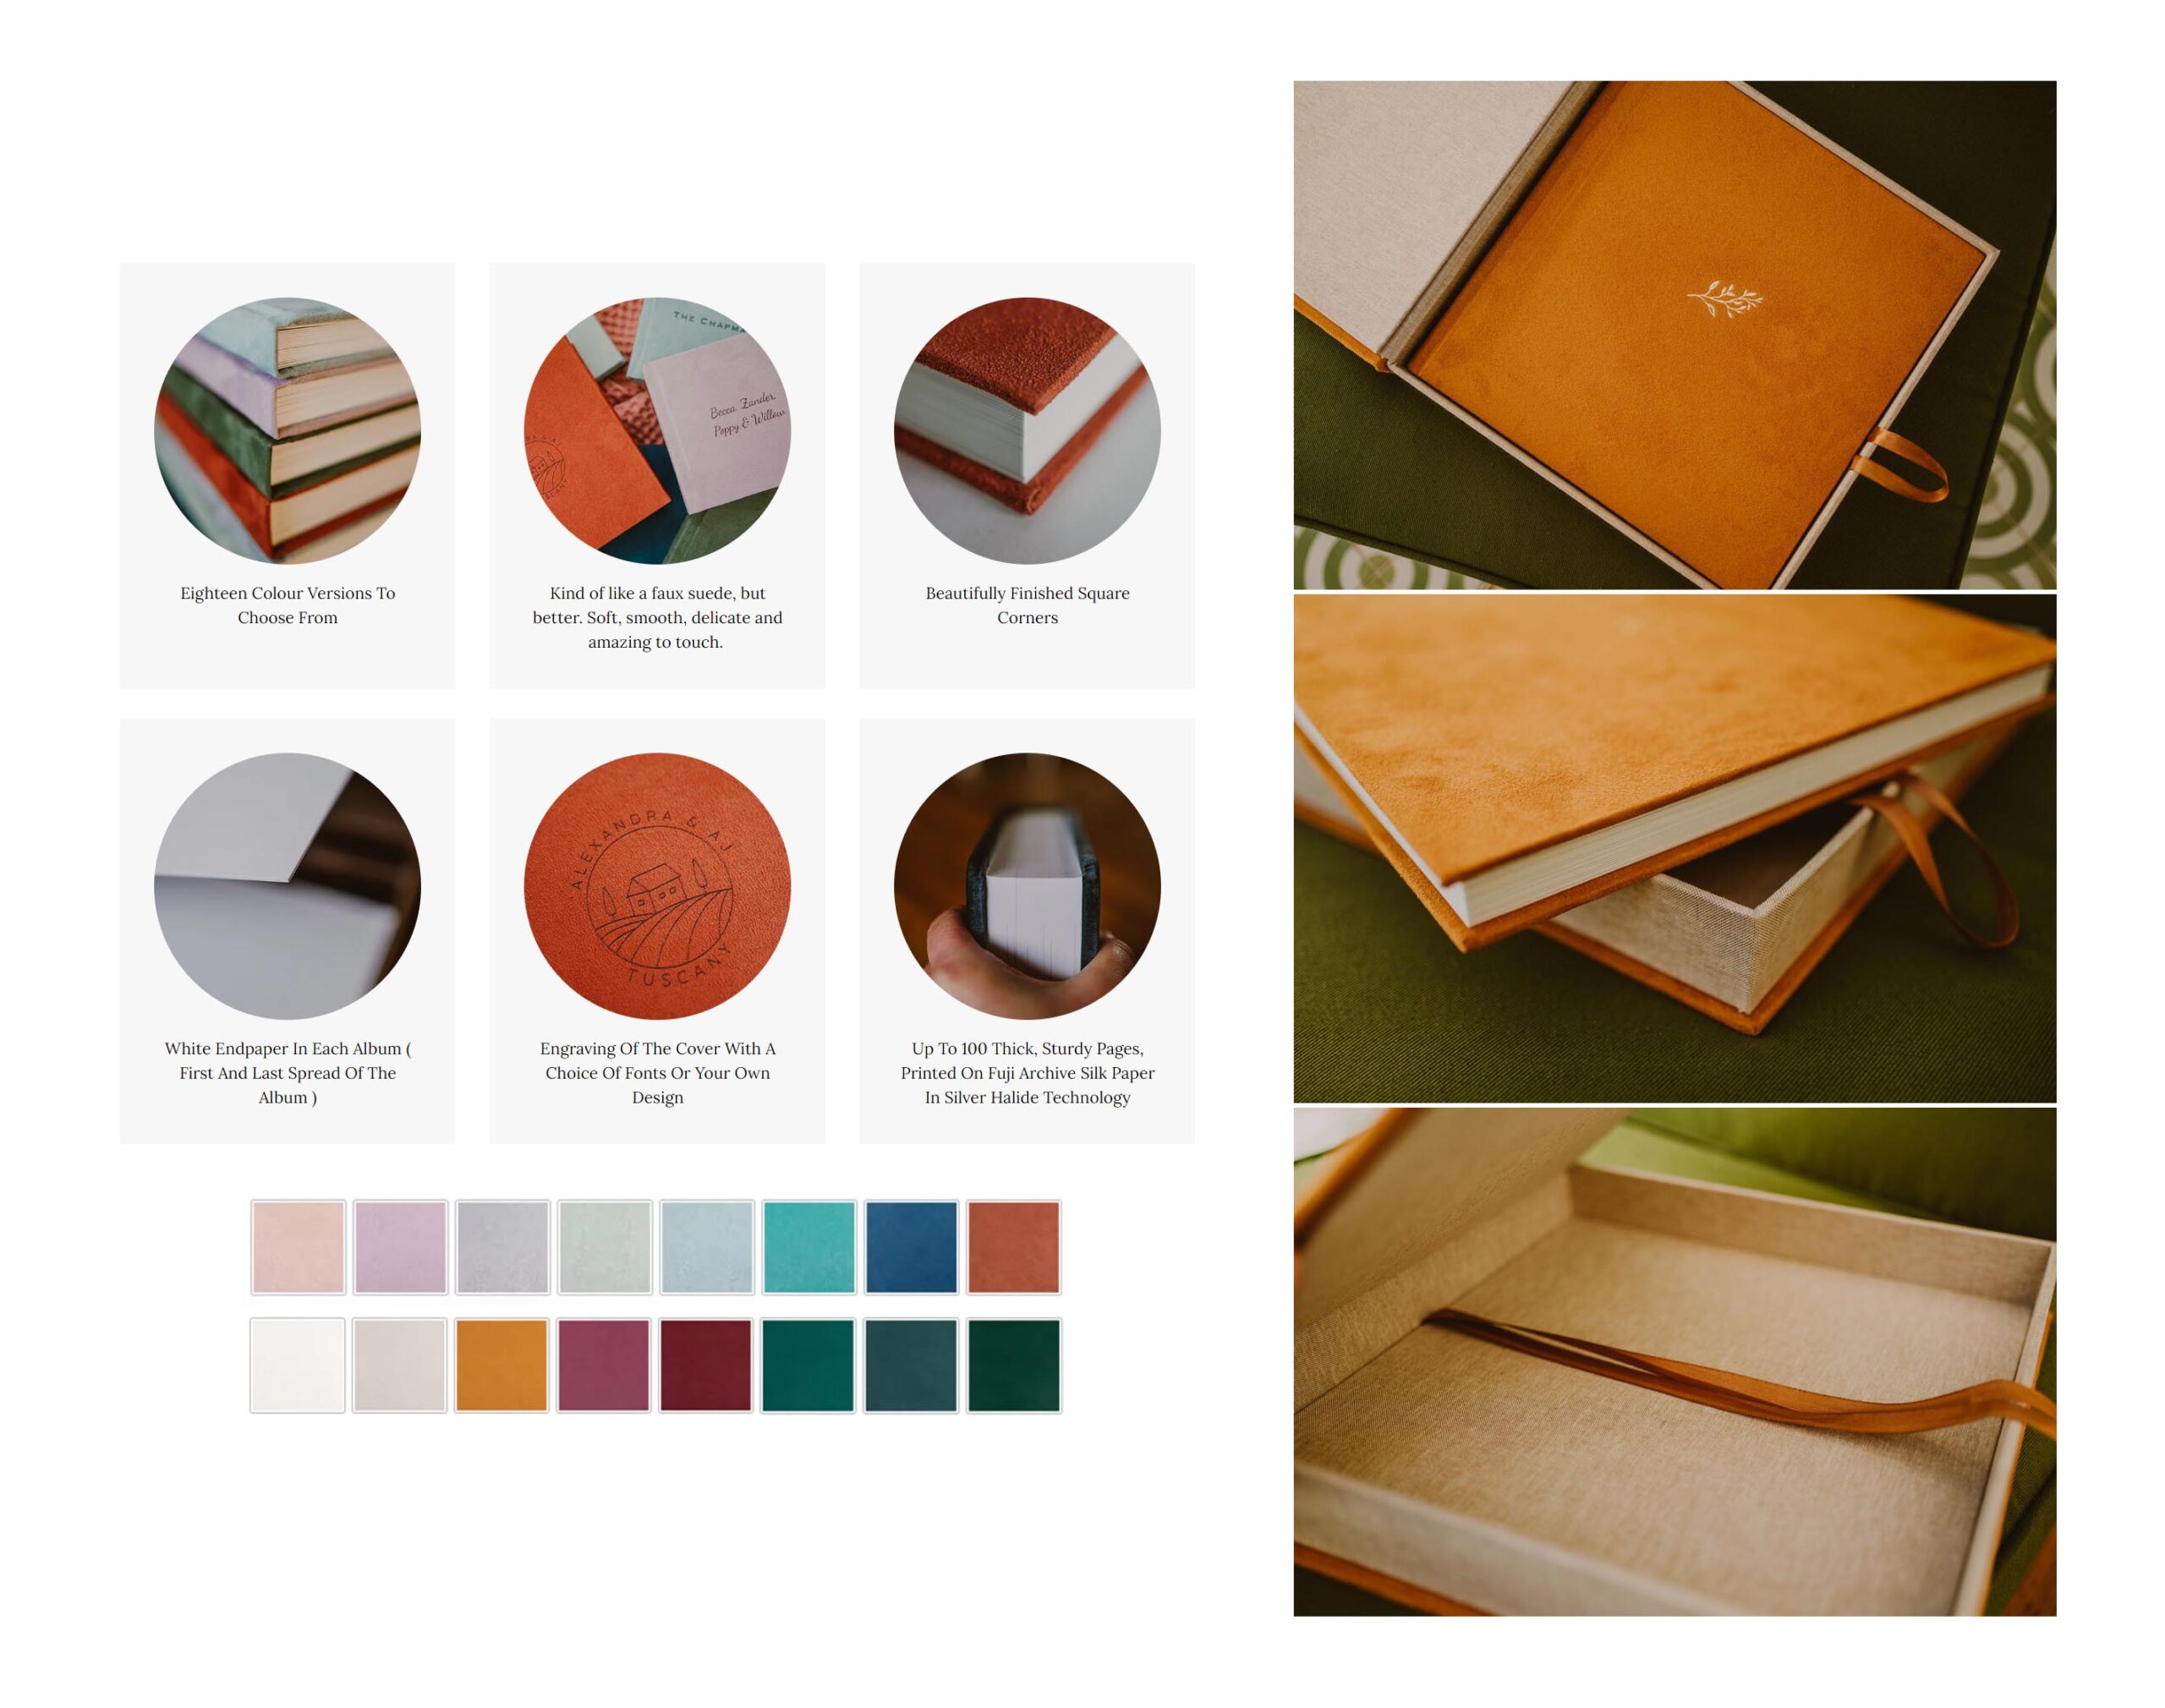
Choose from the colour swatch below, and let me know the colour code you would like for your book:

Choosing the pictures
If you would like to select the pictures yourself: login to your online gallery, click ‘Select’ in the top right corner, click on any pictures you would like included and then click ‘add to favourites’.
Make an account.
Then send me an email to say you’ve made a selection – you should aim to select about 100 pictures.
Or
I can make a first draft myself and that will be our starting point, it’s entirely up to you.
Step 2: Review the Initial Draft
Once you have chosen your photos and album size, I will create a draft layout that showcases your images in a visually appealing and cohesive manner. I take great care in designing your album to ensure it flows smoothly. But. This is a collaboration, and I will choose pictures which I think will make the best looking album. Sometimes it’s not these pictures that mean the most to you, so don’t be afraid to tell me if you think it’s rubbish. The point of making drafts is to get the book how YOU want it. I will of course add advice if I think it’s needed.
I will then send you the initial draft for your review. Take your time to carefully examine the layout, making note of any changes you would like to see.
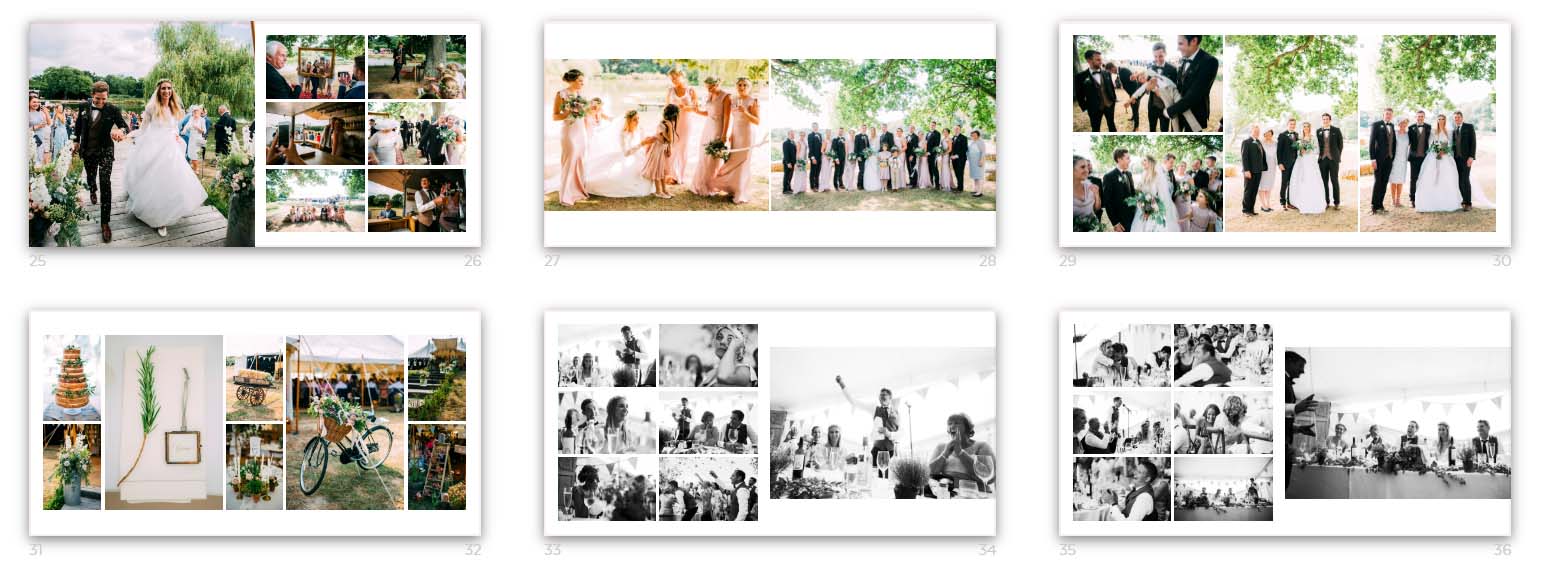
Below is an example of how I put the layouts together. I’ll send you a link to your draft so you can see the spreads full size.

Step 3: Collaborative Edits
The best wedding albums result from a collaboration. That is why I encourage open communication and feedback throughout the editing process. I make adjustments to the layout based on your input, and send revised drafts for your review.
This back-and-forth editing process continues until you are completely satisfied with the design of your wedding album. Rest assured, my goal is to create a beautiful keepsake that you will treasure for years to come. There is no limit on the amount of revisions you can make.
Step 4: Personalise Your Cover and Engraving
Once the layout is finalised, it is time to add the finishing touches to your wedding album. Choose from a variety of elegant cover materials and colours to match your personal style and wedding theme.
To make your album truly one-of-a-kind, consider adding a custom engraving with your names, wedding date, or a meaningful quote.
You also have the option of adding a box which matches the cover material of the book or a jute bag to keep the book protected.

Done!
That’s it, I then send the spreads to the printers and then they deliver your book to your door in about six weeks.
Whilst you’re here, have you backed up your wedding photographs onto a local hard drive? If not you should, here’s how.
